➕ Add
- Letters
- Templates
- Page Layouts
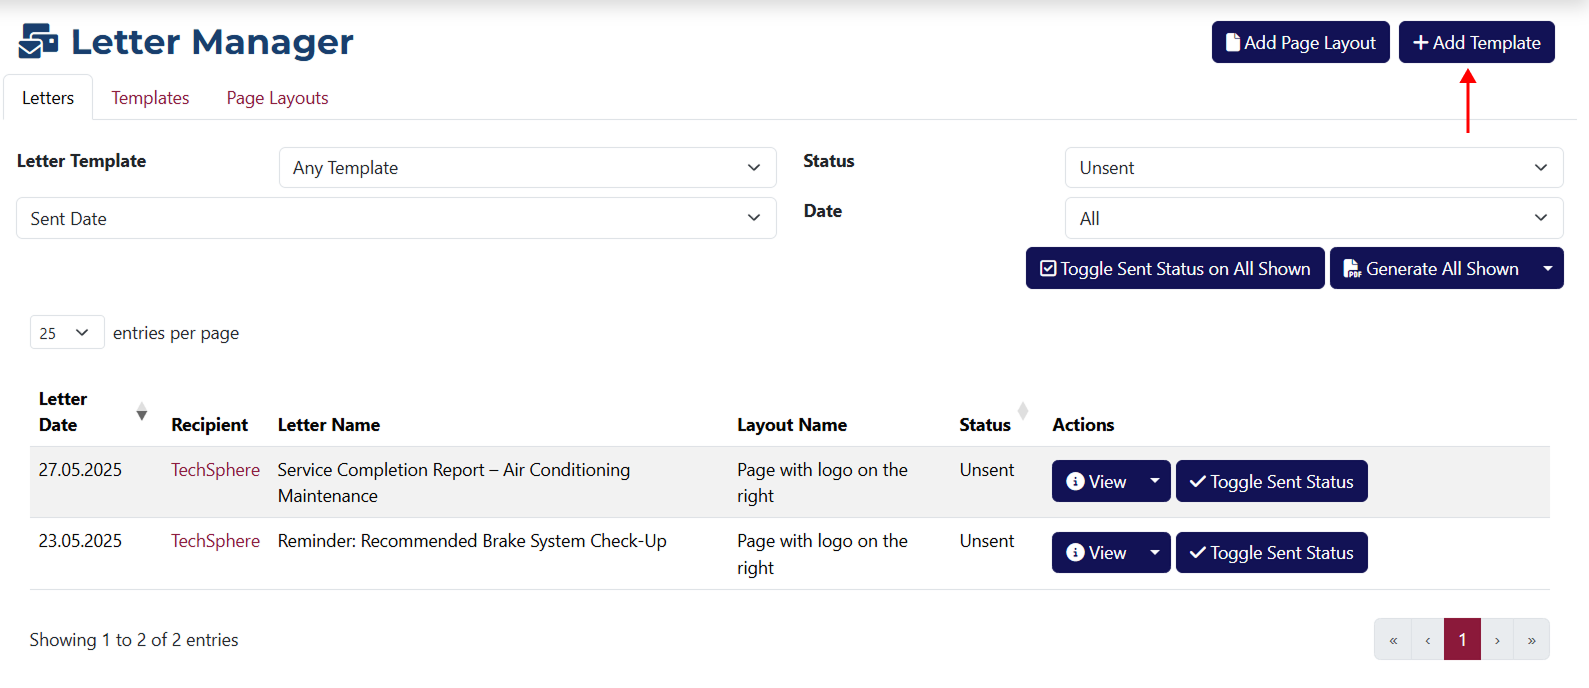
You can create a new letter from the tabs on the following pages:
Each of these pages includes a Letters tab, where you'll find the button to add a new letter.

It's important to note that letters created from these pages will automatically be linked to the corresponding Client, Purchase, Rendered Service, or Invoice.
Example of creating a letter from the Client Details page:
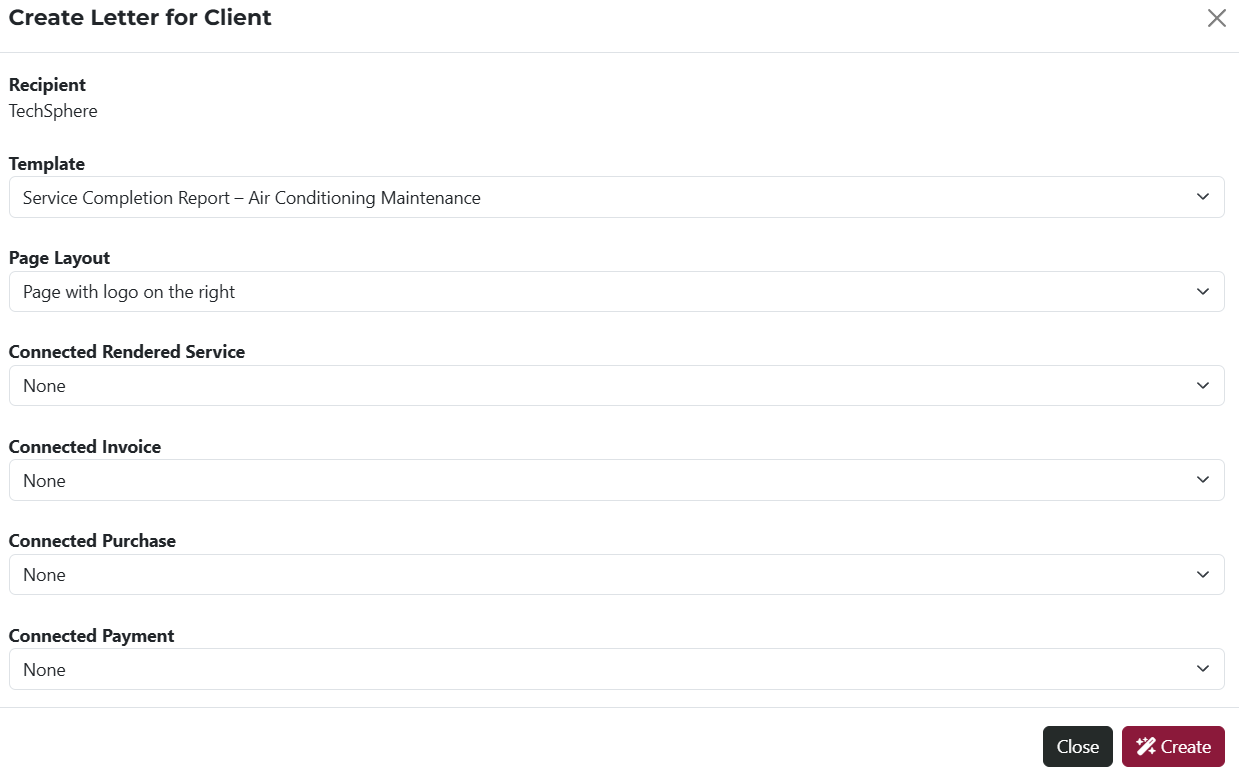
After clicking Add Letter, you will see the popup window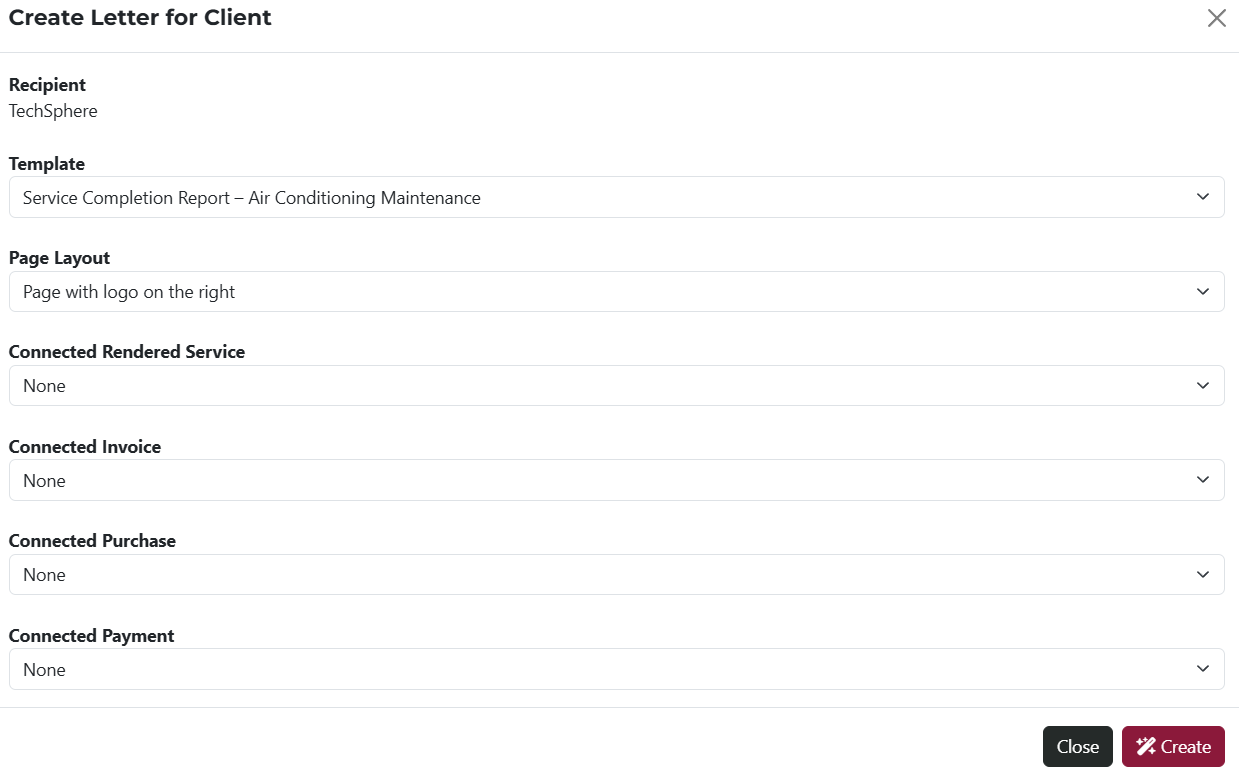 , where you can select:
The selected options from the dropdowns will be included in the generated letter content.
- Letter Template – choose from templates you've previously created.
- Page Layout – select from your saved layout formats.
- Rendered Service – pick a service associated with the selected client.
- Invoice – choose from the client’s related invoices.
- Purchase – select a purchase tied to the client.
- Payment – select a related payment entry.
Keep in mind that the recipient’s name is already pre-filled, since the letter is associated with a specific client. Each letter is tied to the exact page you’re creating it from.
You can access the page for creating a new template by clicking the Add Letter Template button.
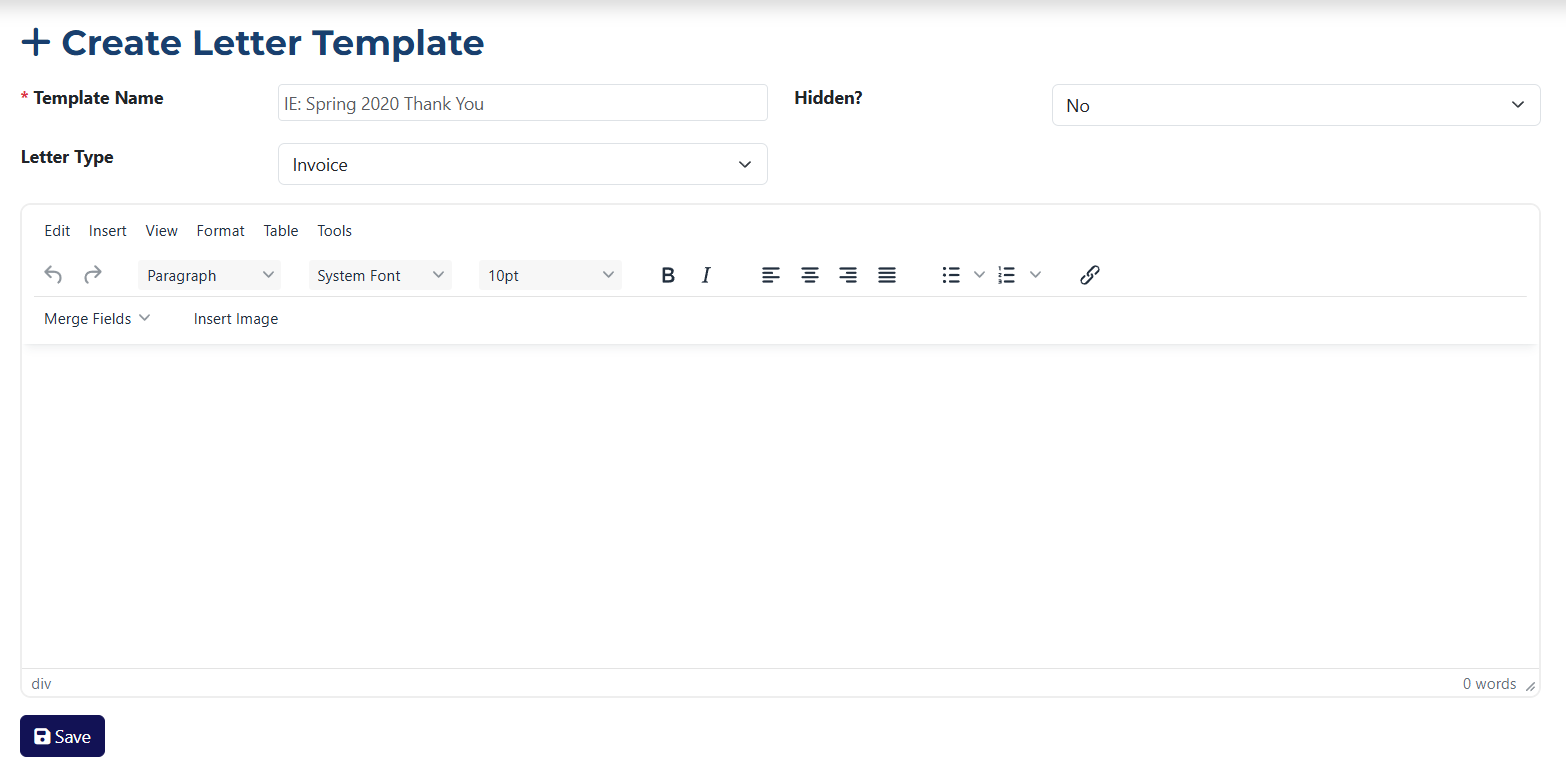
Here’s what each field means:
- Template Name* – you must enter the name for the template you're creating.
- Hidden? – choose whether the template should be visible or hidden in selection menus.
- Letter Type – select the type of letter this template is meant for.
- Template Content – compose the actual content, using the available formatting tools.
The Template Name field is required.
Example: Creating a New Template
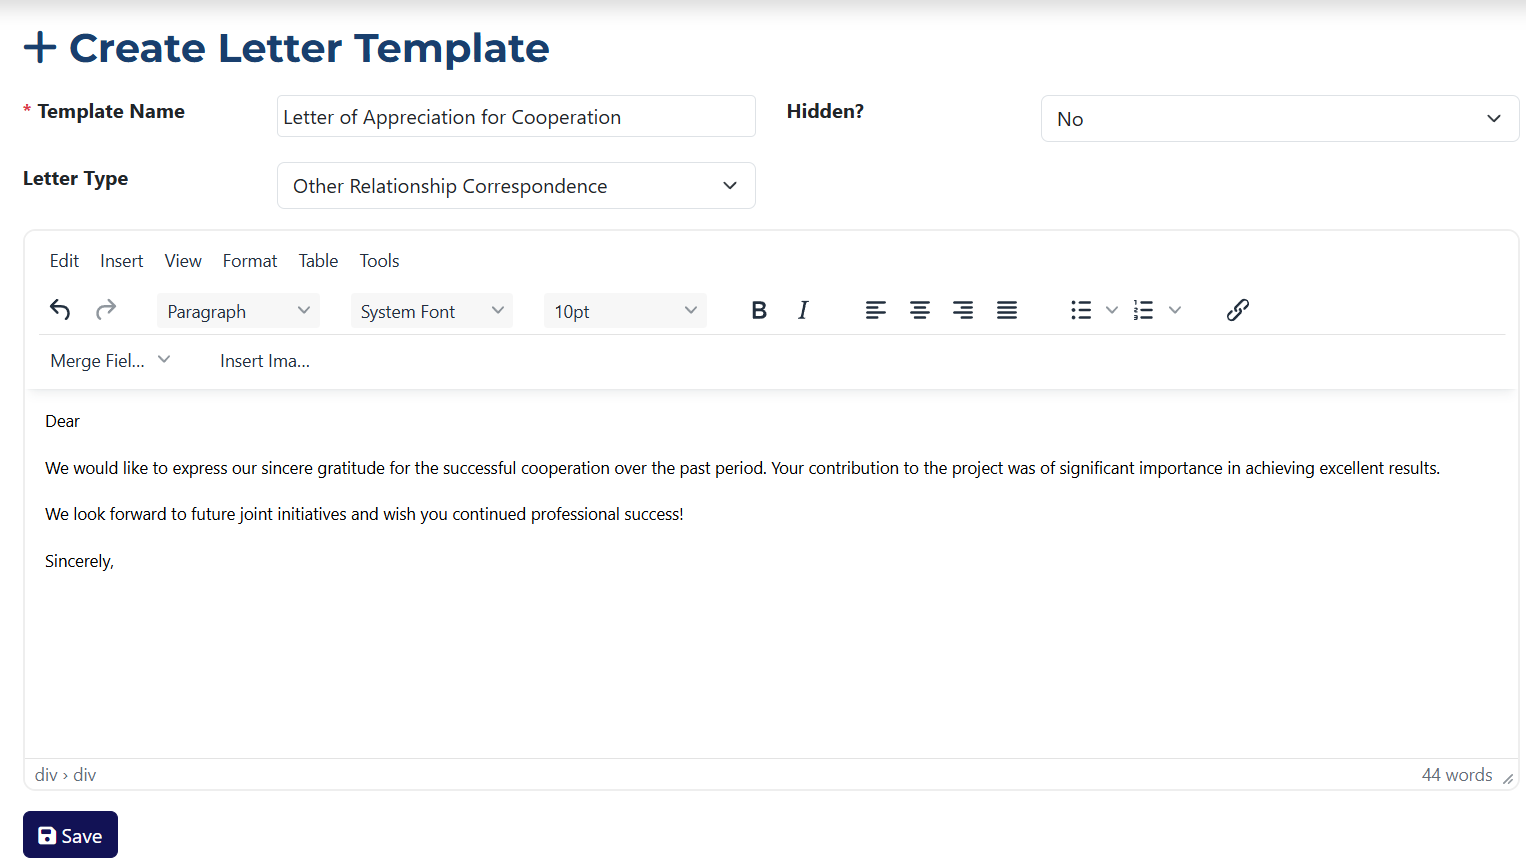
After you enter a Template Name and select a Letter Type, you can start writing your letter in the content field. Use the formatting toolbar to insert images or predefined dynamic fields. Click Save to store the template.
The Merge Fields dropdown lets you insert dynamic data related to the client who will receive the letter:
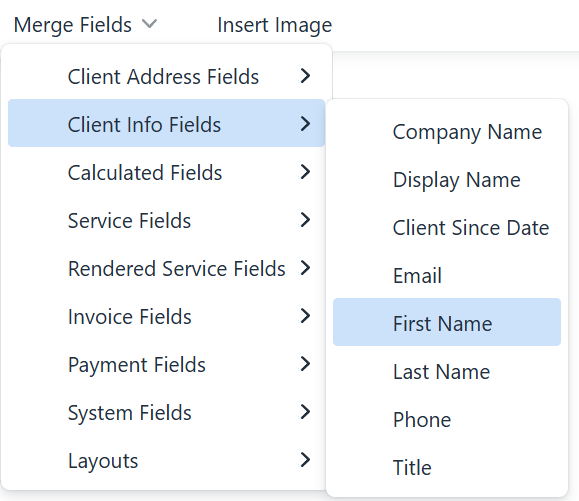
After selecting a field, it will be inserted as a variable (e.g., {$client.display}). When the letter is sent, this variable will be replaced with the actual value from the system, like the client’s name.
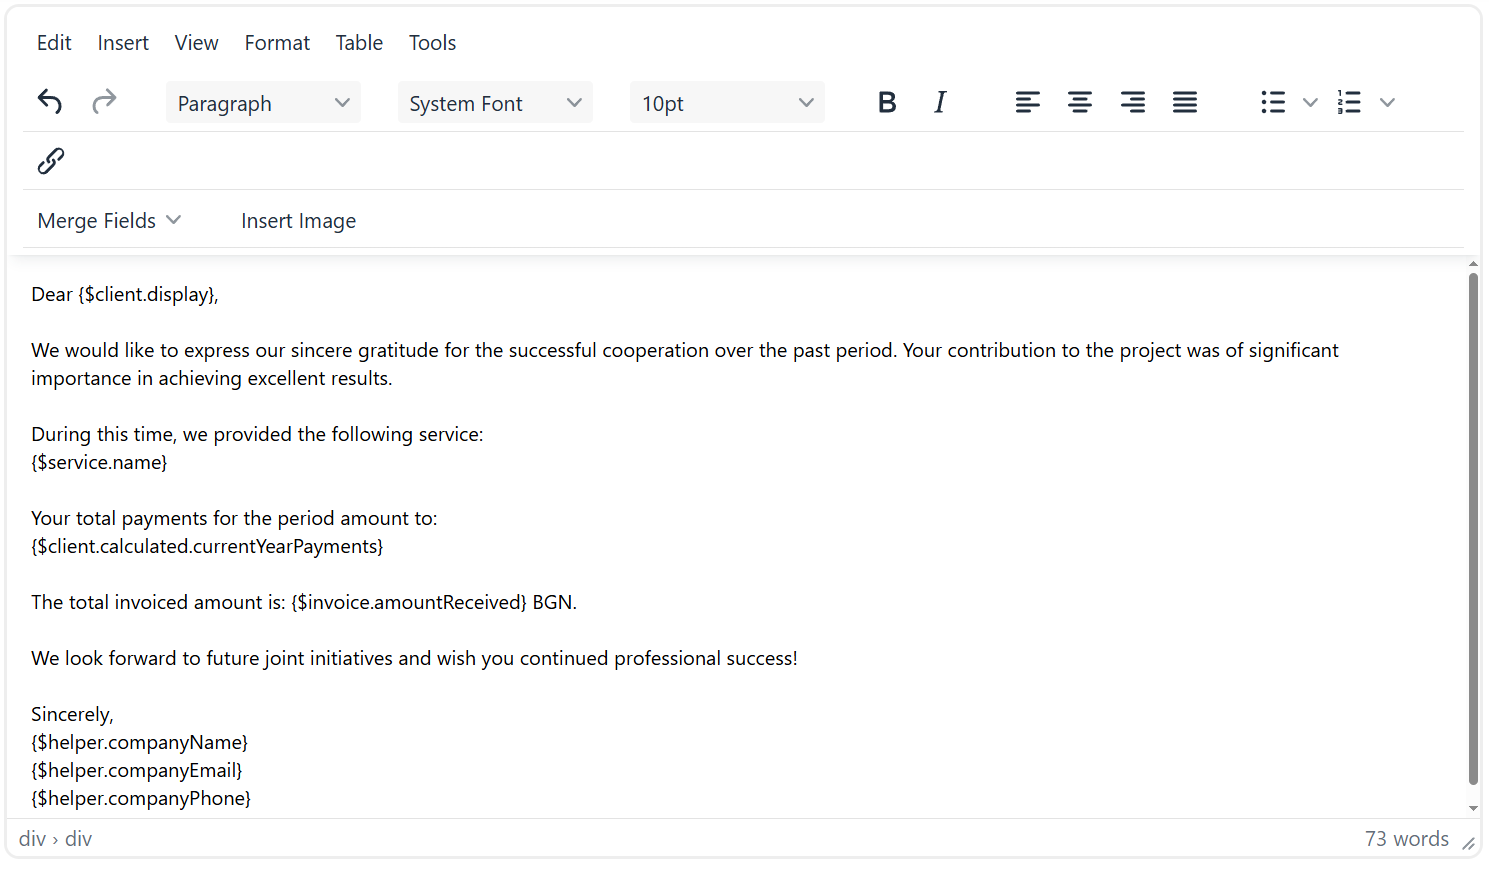
Here’s how the example variables are translated:
{$client.display}– the name of the client receiving the letter.{$service.name}– the name of the service.{$client.calculated.currentYearPayments}– the total amount paid by the client this year.{$invoice.amountReceived}– the amount received for a particular invoice.{$helper.companyName}– your company’s name.{$helper.companyEmail}– the contact email for your company.{$helper.companyPhone}– your company’s phone number.
And here’s how a letter created from this template might look:
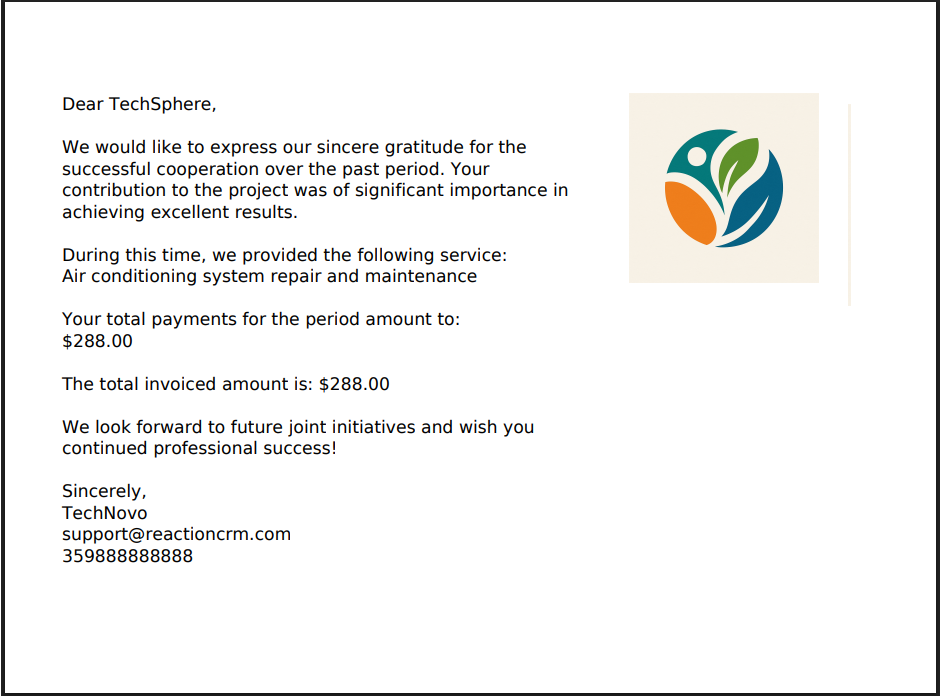
Every letter generated using this template will replace the variables with the actual values for the specific client it’s linked to. Think of the template as a reusable blueprint for your letters.
To access the page for creating a new layout, click the Add Page Layout button.
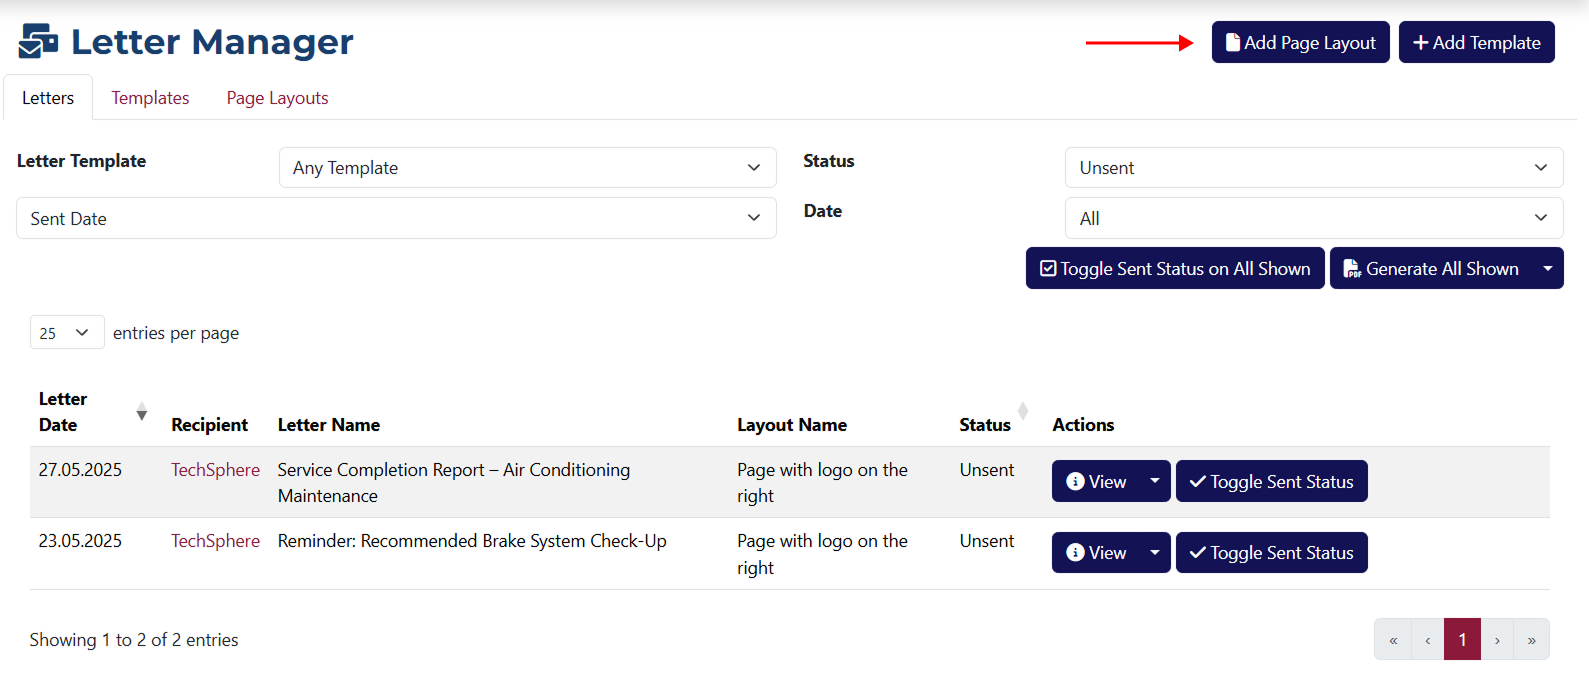
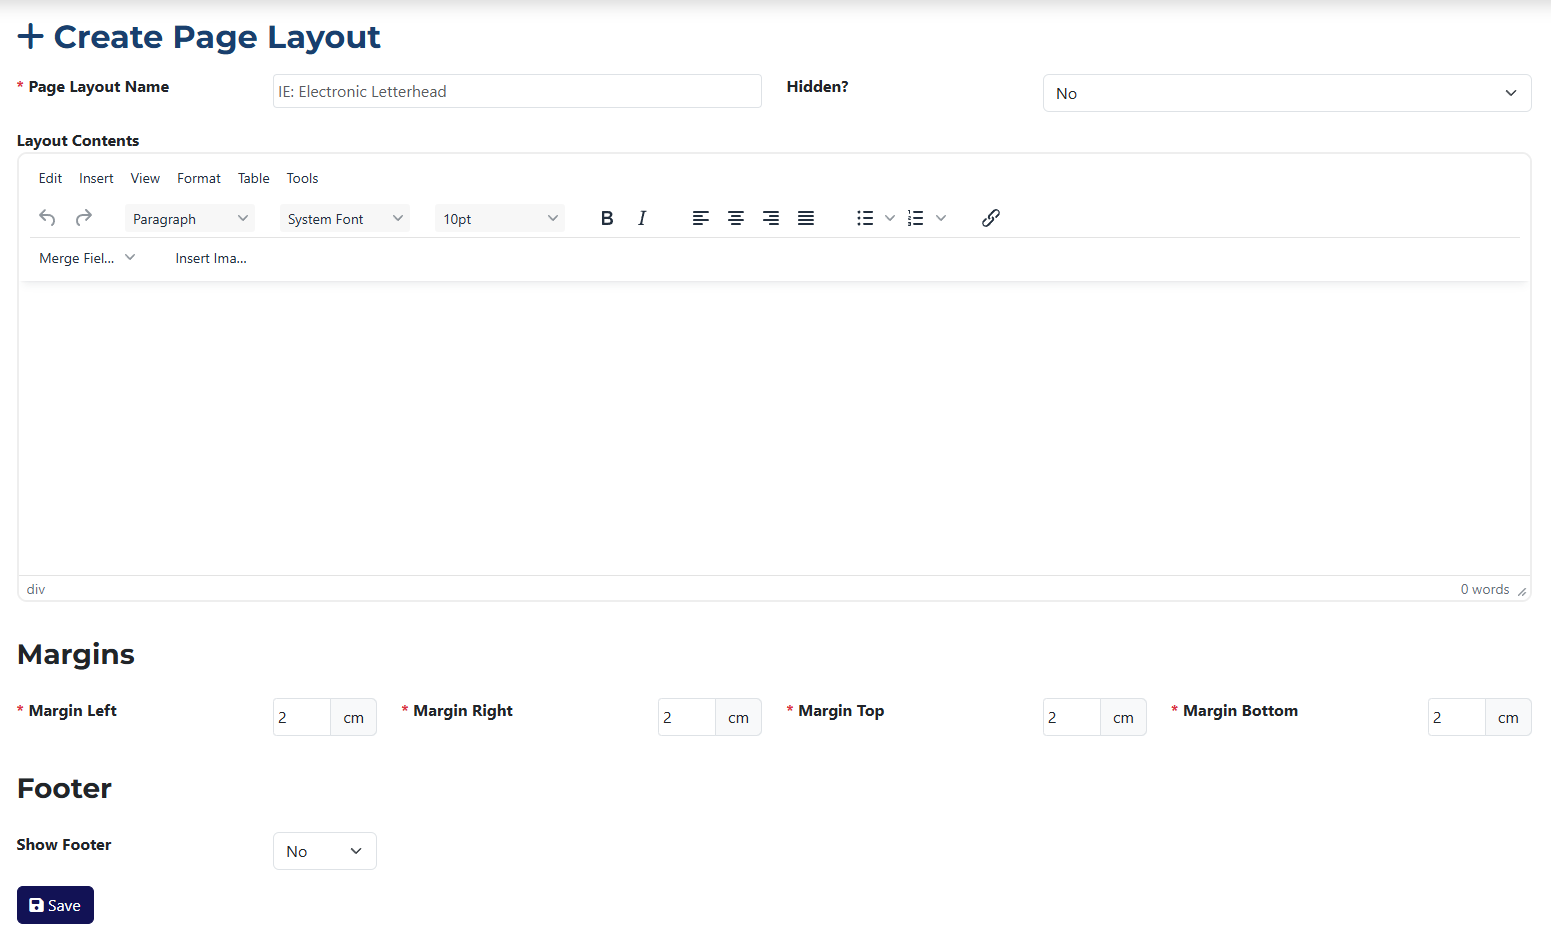
Here’s an explanation of the included fields on the page:
Fields marked with an asterisk * are required.
- Page Layout Name* – enter a name for the layout you’re creating.
- Hidden? – choose whether the layout should be visible or hidden.
- Layout Content – write the content of your layout, using the formatting tools provided.
- Margins – set the distance for each margin: left, right, top, and bottom.
- Footer – enter footer content that will appear at the bottom of your letter layout.
If you select Yes from the dropdown, an additional field will appear – identical to Layout Content – allowing you to define Footer Contents.